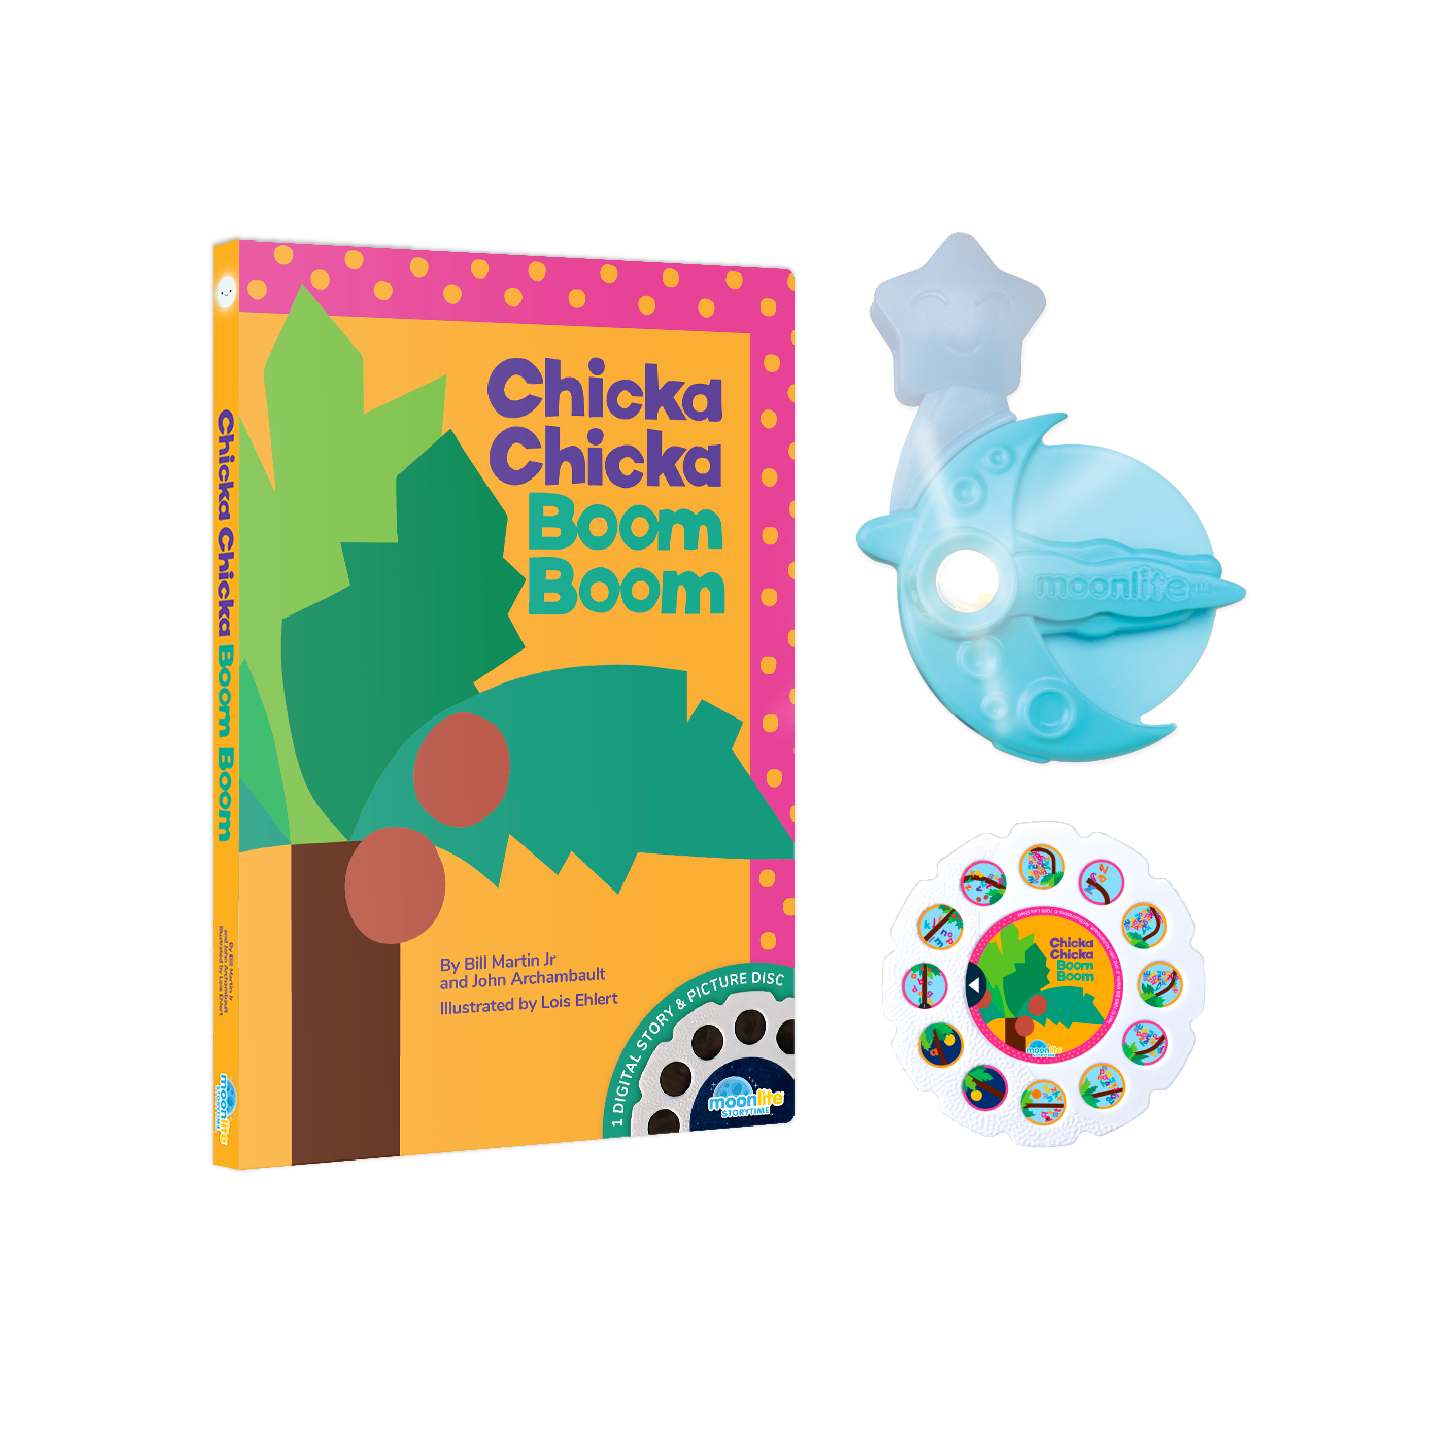
Your Moonlite Package
Every Moonlite starter set comes with a projector, picture discs and an activation code card. The activation card lets you download a copy of the story onto your smartphone.
Let’s see how it all works!
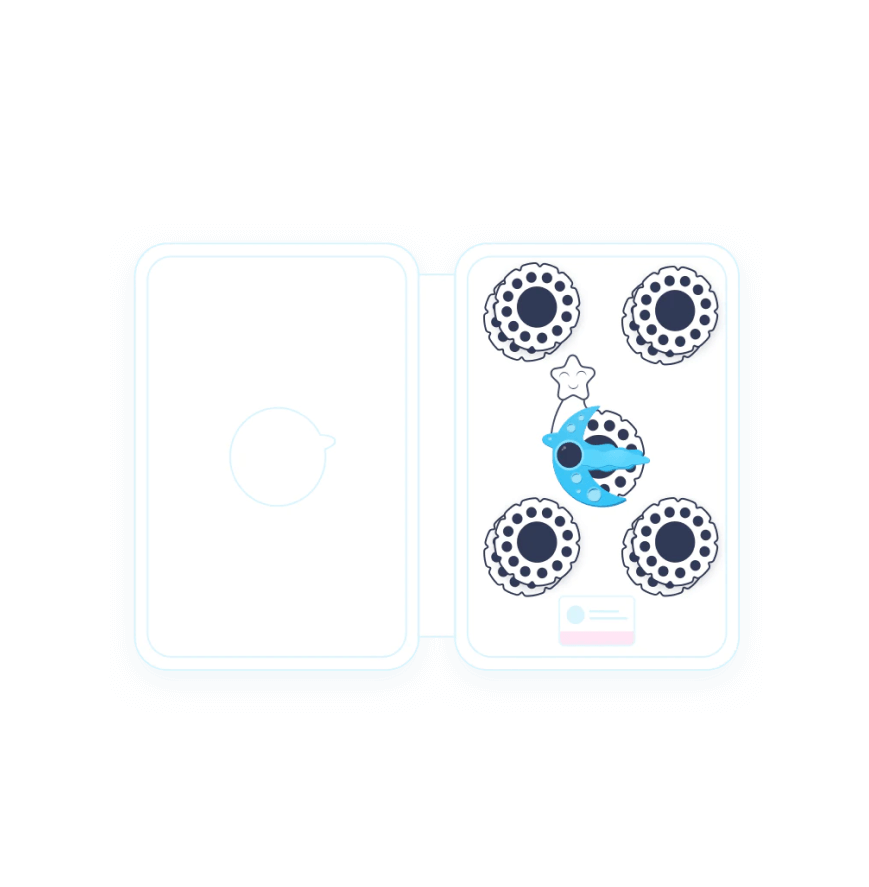
Every starter set includes:

Projector
Story Discs
Activation Code Card

Getting Started
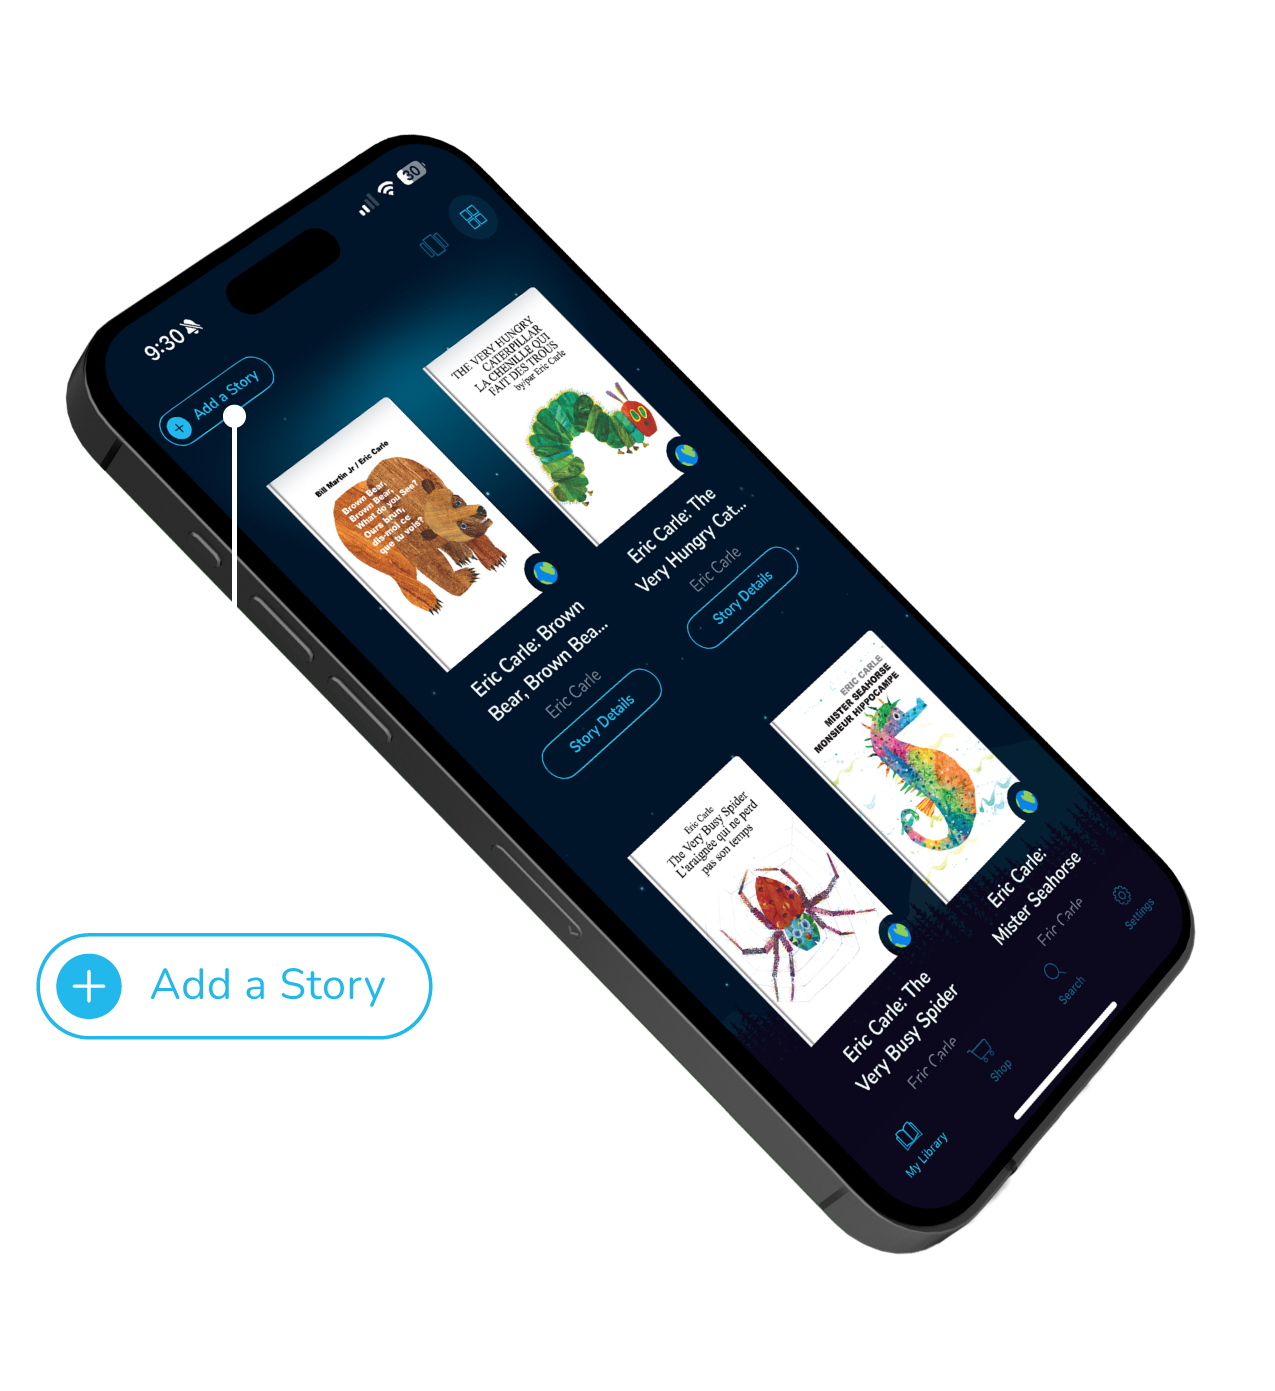
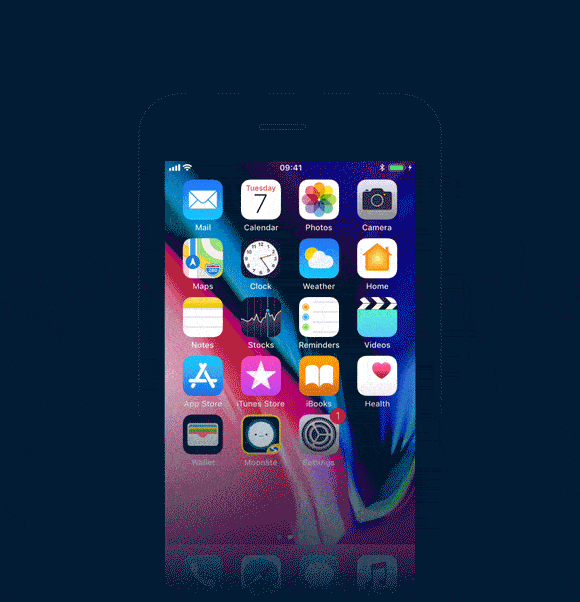
Download the Moonlite app
Visit the Google Play or Apple App Store to download the Moonlite app.


Take out your Moonlite Projector and peel off the protective film
Flip the Moonlite Projector over, and on the back you’ll see an arrow pointing to the nanosuction material. This is what helps keep your Moonlite attached to your phone.
To activate the nanosuction material, peel off the protective film.

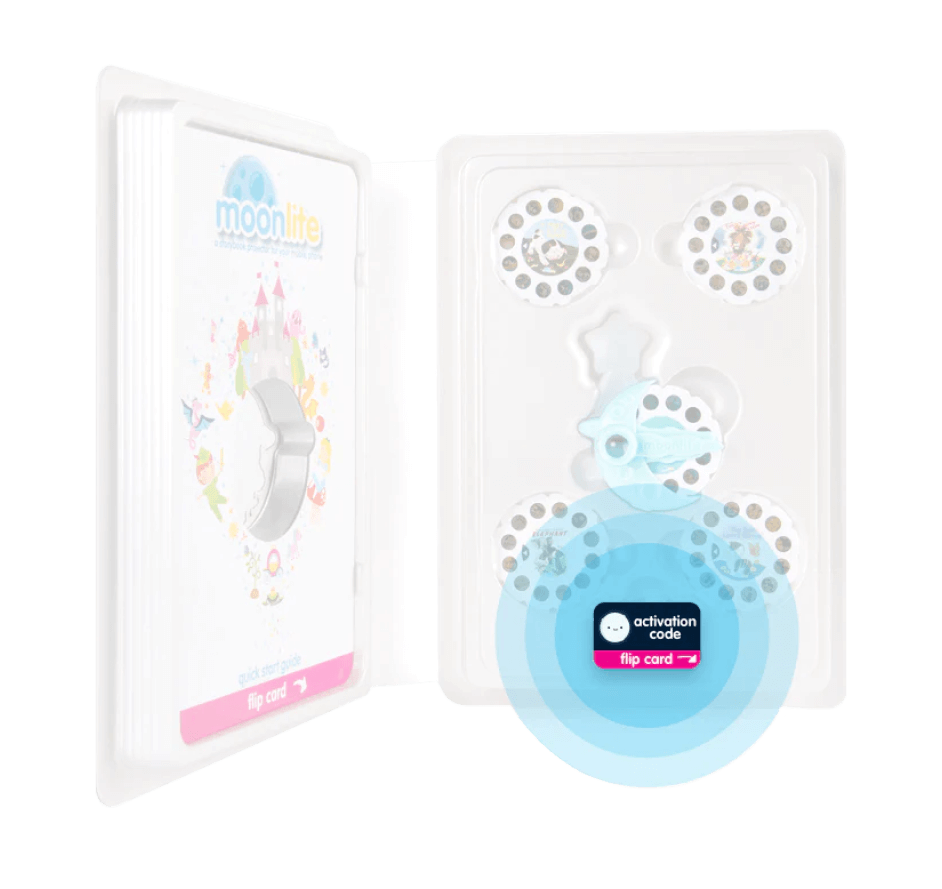
Your Activation Code
Get your activation code from your package. You’ll need it to unlock the stories in the Moonlite app. Your stories will then live forever on your mobile device.
DID YOU KNOW?
The Moonlite package is reusable and is designed to be a storage case for your projector and accessories. So keep the package!
Unlock stories in the app
To unlock your stories in the Moonlite app, flip over your activation code card and find your unique unlock code. In the Moonlite app, press the “unlock” icon on the upper left-hand side of the screen.
Enter in your 10-digit code to unlock your stories, or scan the QR code if there is one on the card.
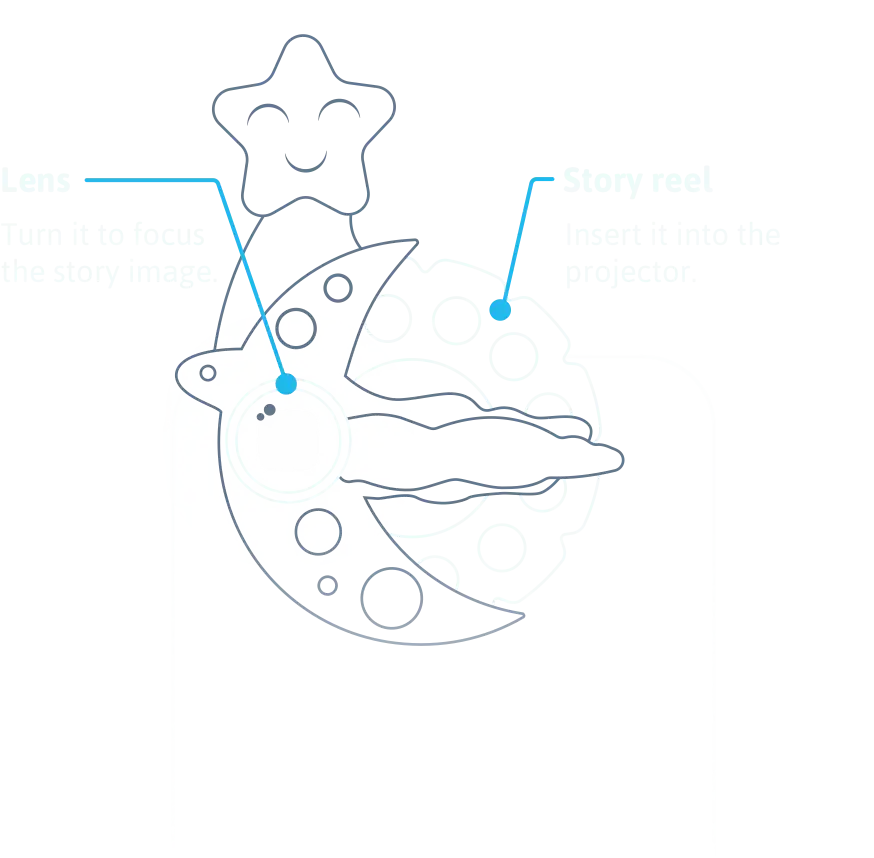
The Moonlite Projector
The Projector
Flip the Moonlite Projector over, and on the back you’ll see an arrow pointing to the nanosuction material.
This is what helps keep your Moonlite attached to your phone. To activate the nanosuction material, peel off the protective film.
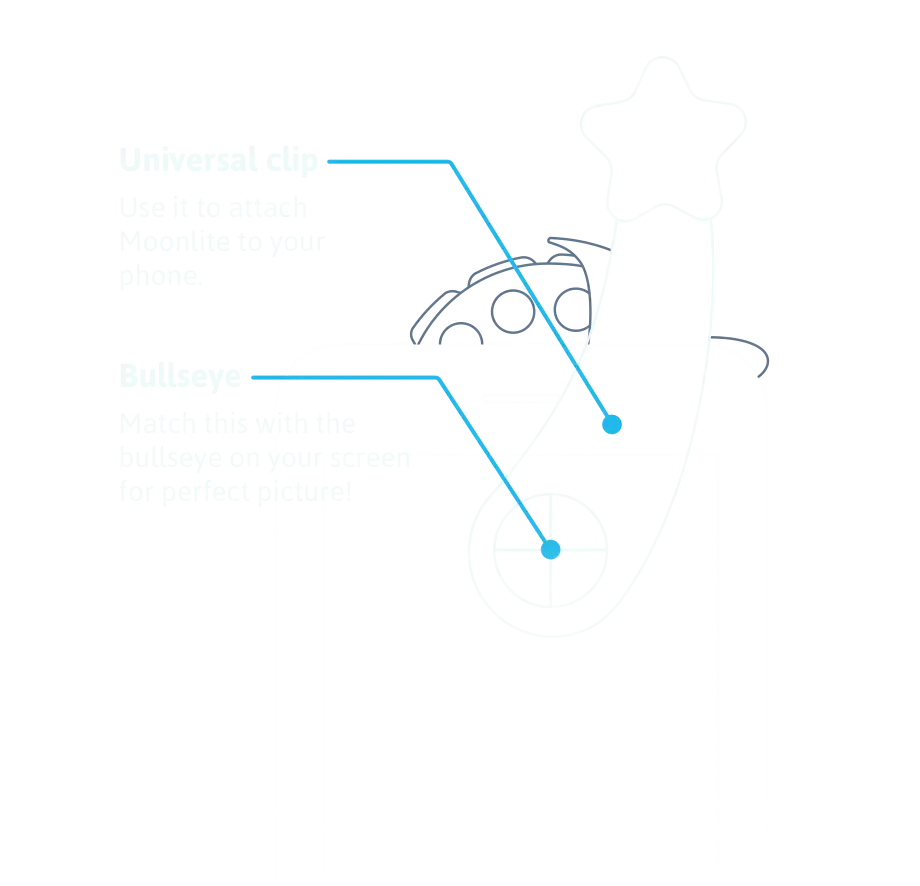
The Universal Clip
We designed our universal clip to work with most smart phones. On the back side of the clip is the bullseye. You’ll use the bullseye to line up your Moonlite projector with your phone’s flashlight.
Tips & Tricks
Insert a story disc into your Moonlite
The story discs slide right into the Moonlite Projector. There’s an arrow on every disc, indicating the story's first image.

Clip Moonlite onto your phone
The Moonlite Projector sits right over the flashlight of your phone. To align it perfectly to your phone's flashlight, first open up a story in the Moonlite app. You’ll see a pulsing bullseye.
Line up the bullseye on the back-side of your clip to the bullseye on your phone’s screen. And voilá… you’re projecting!

Focus the projected image
If the image looks blurry while projecting, turn the lens barrel clockwise or counterclockwise until the image becomes clear.
Match the projected image with the starter image in the app
When you open a story in the Moonlite app, you’ll see a 'starter image.' This is the first image in the book. Make sure you’re projecting this image BEFORE you begin reading.
Line up the bullseye on the back-side of your clip to the bullseye on your phone’s screen. And voilá… you’re projecting!

Turn the disc, then swipe the page
To move forward in the story, turn the disc counterclockwise and swipe left on the screen of your phone.